


skeeljc
-
Posts
35 -
Joined
-
Last visited
Content Type
Forums
Profiles
Events
Store
Posts posted by skeeljc
-
-
Here is an engineer's answer to scope leveling:
You will need two lasers and a solid vice to hold the rifle. Mount one laser in the bore and a the other in the scope rings. Use the two laser points to draw a vertical line at some distance (like 30 yards) in front of the muzzle. Set the scope in the rings and make the vertical crosshair parallel to the line on your paper. Tighten the scope caps. You can use a piece of bar stock with a hole bored in it to mount the laser in the scope rings. Both lasers can be rotated to be sure they are concentric with the bore/rings.
-
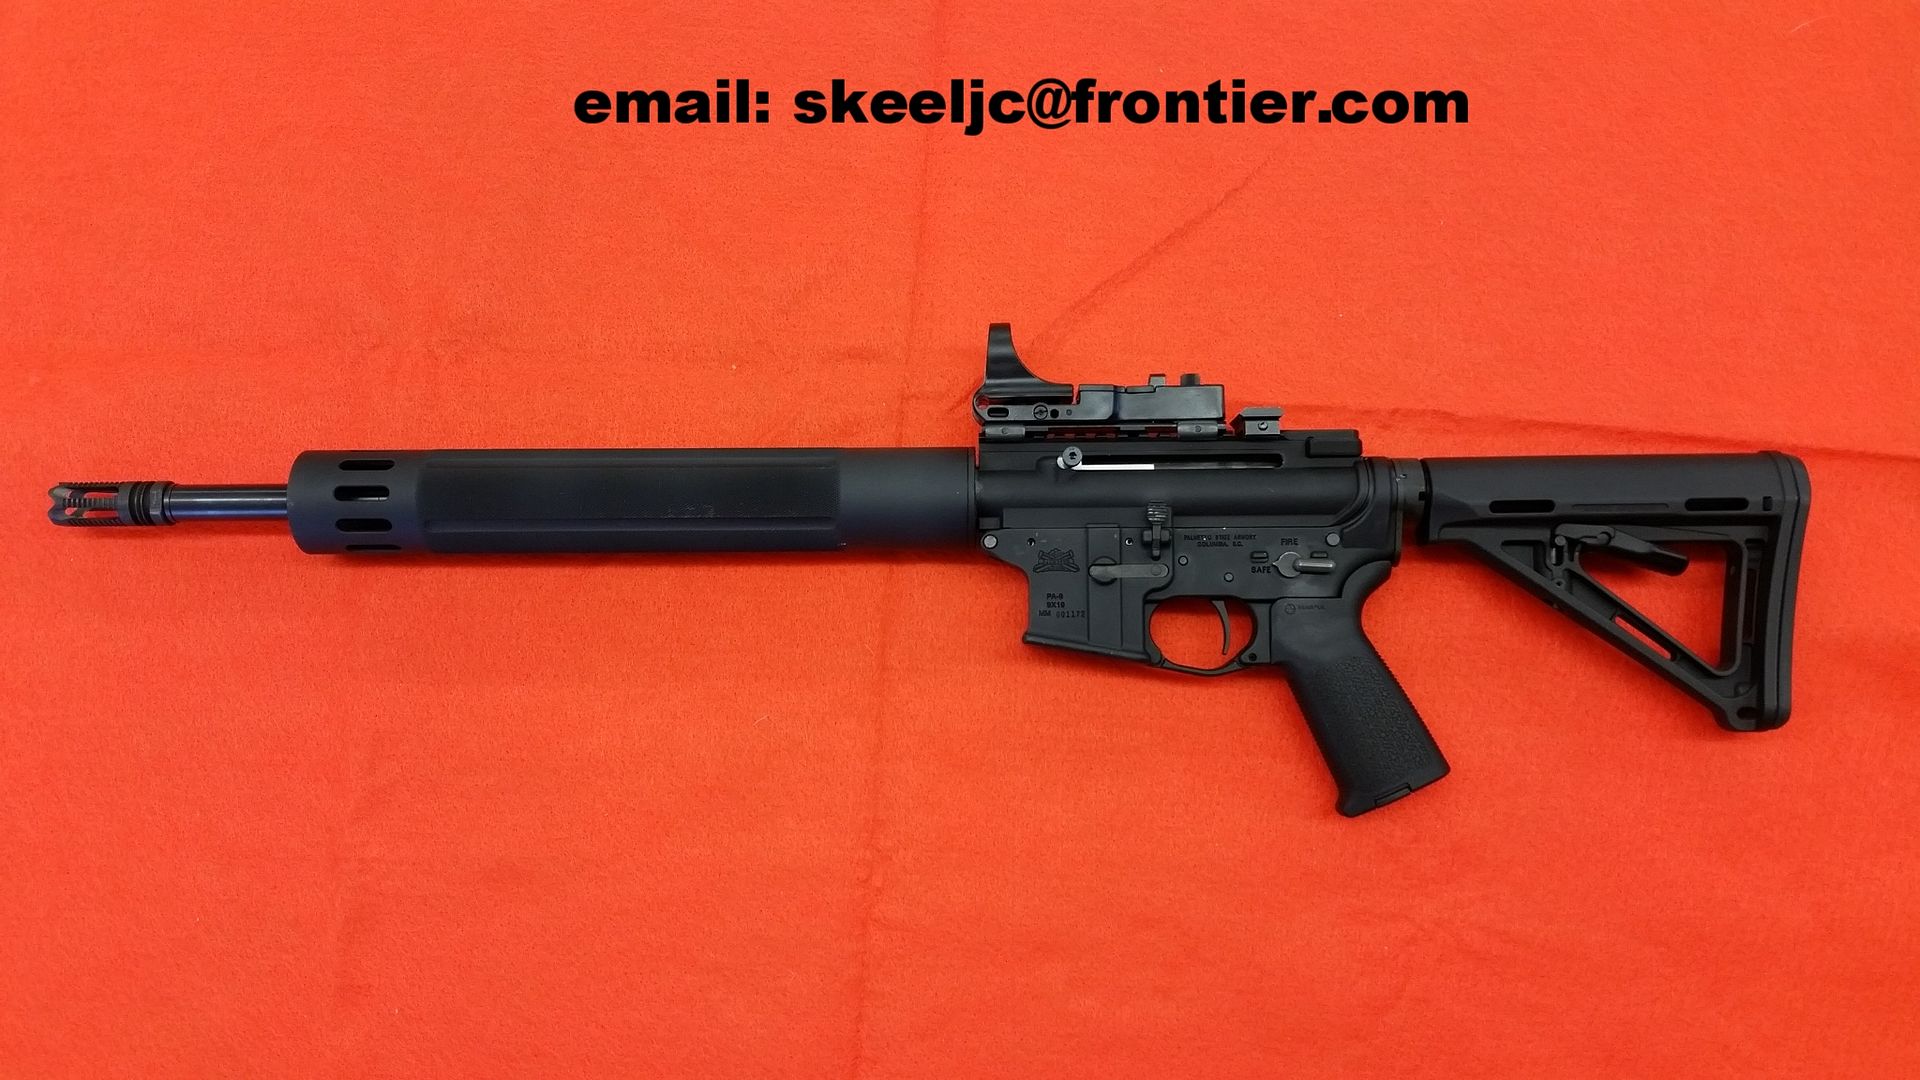
PSA dedicated Colt pattern lower with Magpul stock and pistol grip
Timney 3# single stage trigger
Blitzkrieg Hydraulic buffer with JP AR-10 spring
Aero Precision upper
PSA 16" 9mm barrel
PSA G-9 Hybrid bolt
Double Star handguard
C-More Railway RDS
Metalform 32 round mags
Active left side charger conversion by Jim Skeel
-
Where can I purchase a threaded barrel for my EAA Witness Elite Match? 40 S&W caliber.
-
Never shoot with the lock screws loose. Shoot, loosen lock screw(s), adjust, tighten lock screw(s), shoot.
The lock screws effect the POI. If you shoot with the lock screws loose you will end up chasing your tail.
-
How do the sanded/stippled factory grips compare to the Henning grips?
-
What epoxy did you use to secure the mag well?
-
What spring weight do I need to run in my EAA Witness Match .40 S&W with 200 grain bullets running 950 fps (190 PF)?
What weight is the OEM spring?
Jim Skeel
-
They are not cheap. I sent my G34 slide to them for a STS cut. They turned a $165 charge into $230 in a blink. Added a deburr fee, re-blue fee and $30 return shipping fee.
They do good work and the customer service is good.

Now that is a good looking Glock!
-
Here is the Glock 34 I used to shoot the groups in the previous post.
-
We had a break in the weather today so I shot some groups with my Glock 34 with the KKM Match barrel. Groups were shot at 20 yards from a bench with my hands resting on sand bags. No part of the pistol rested on the bags. Sight was a C-More STS mounted on the slide.

The KKM Match does not like plated bullets.

These are Winchester 115 gr FMJ RN. They have a concave base with exposed lead. Velocity is 1150 fps.

These are Hornady 115 gr FMJ RN. Velocity is 1150 fps.

These are Hornady 115 gr HAP (Hornady Action Pistol) bullets. They have a flat base and a hollow nose. Velocity is 1150 fps.
When I have some more good weather I intend to run the Hornady bullets in the KKM and the Glock OEM barrel.
-
Where do you get the grips that wrap around the front with the finger grooves? Do they make them for a EAA Witness Match .40 cal? Is my EAA Witness Match a small or large frame gun?
-
My racker is just 0.150" thick where it fits in the sight dovetail. That way it will pass under the C-More when you take the slide off.
-
I noticed a similar racker in one of Henning's videos. I do not find it on his website. You might want to contact him.
-
Here is a second question.
If I put Henning's Flat Trigger System in my EAA Witness Match should I replace any other parts? Will the factory hammer and sear be o.k?
-
Thanks. I missed that. The Long Reach should work for me.
-
I have a EAA Witness Match .40 cal. I like what I have read about Henning's Straight Trigger except it looks like the Henning trigger is located further to the rear. I have large hands and would like a longer trigger. Has anyone modified a Henning Straight trigger by adding material to the front of the trigger?
I am imagining adding a piece of Delrin to extend the trigger forward. I suppose one could run a couple of screws through the trigger into the piece of Delrin.
-
I've read and heard of people that zero the dot at 50 yards
and then shoot off (Kentucky windage) for closer distances, and then some that zero at 25 and do the same for both closer and further.
I've also heard of people who zero in with a 4-MOA dot element and then switch back to the 8 or 10 for actual shooting.
Pros and cons? Favourite methods for zeroing?
The POI changes when you change the dot. I wish it didn't. Sight in with the dot size you are going to shoot.
-
Decided against the long Cheeley slide racker. Made a short one for the right side. This way I do not have to remove the racker to remove the slide.


-
o.k I grew up when .45 comps were just one or two rather large ports. What is with drilling holes in the barrel ahead of the comp?? Seems to me you are only reducing the amount of gas available to the comp.
-
I am waiting for a long Cheeley slide racker to complete the project.
I just noticed that the thumb rest may block access to the C-More adjustments. I guess I can always just remove the thumb rest to change zero.
My goal for this project is to use the pistol for bowling pins. The local pin matches place the pins at 2 feet for the .40 cal. as opposed to 3 feet for the .45 cal. I have some 200 grain plated flat point bullets which I will try. I run 230 grain FP cast bullets in my 1911 .45 ACP pushed to 900 fps. They take the pins off every time if I do my part. I just want to see how the .40 S&W will perform on pins.
When you only get to load 6 rounds for 5 pins it becomes an accuracy contest instead of a speed contest!
-
Here is how I proceeded.
First I determined where to place the four holes in the frame. I set the height so there will be 0.050" clearance between the C-More and the slide. The Y-dimension I used is 0.300" down from the top of the frame. I placed the four hole pattern (10mm spacing) as far to the rear as possible keeping the rearmost hole in the frame channel so all the holes are through holes.
I purchased a 3.3mm metric long life TIN-coated jobbers drill bit and a long life spiral fluted M4x0.7 metric tap. Spiral fluted taps push the chips ahead of the tap and can only be used for through holes. They need to be driven in a mill or a good drill press. They are not a "hand tap".
I put the frame in the vice on my Enco mill. I used a carbide center drill to establish location. Then I drilled through the frame with the 3.3mm drill. I used 30 weight oil on for the center drill and the through drill. The frame was easy to drill so I knew it would be easy to tap. I used the mill to drive the M4x0.7 tap at 60 rpm and hand fed. I used TapMagic cutting fluid on the tap.


-
You guys were beginning to scare me.
I purchased a good quality 3.3mm drill and a good spiral fluted M4x0.7 tap. The machining was very easy. I don't believe there is any heat treat on the frame. It was harder determining where to put the holes than the actual machining.
I will post some pictures later
-
Where did you find one? I would like to put one on my EAA Witness Match.
-
I know the frame is stainless steel.
Are you sure about that? Do you have a magnet?
o.k. My bad! It is steel (contains iron). I suppose it could be surface hardened? I have drilled and tapped surface hardened parts before. You usually need to remove enough of the surface heat treat to clear the tap o.d. This can be done with a carbide center drill.


.223 69-77 gr ammo suggestions factory/hand load
in Rifle - Technical
Posted
I settled for loading Hornady 75 grain HPBT for my 1 - 8 twist AR-15. Those bullets are available in bulk from Midway and catching them on sale at Midway is what you want to watch for.